
First of all, Assemble your materials!
You will need
Paper (I like it best if there is a selection of colours but single colour jars could work)
A jar or bottle or your choice (smaller ones are easier to finish but bigger ones look very impressive) Charity shops can sometimes yield real gems for these so keep your eyes open (the bottle I use here came from from an Oxfam shop for 99p).

A pair of scissors (optional but I think you get a better look using them)
Glue (again, optional. It can be any sort but I find the tippex mouse style dry glue dispensers work best here)
If you don't know how to make origami lucky stars this video is good (it's not in English but there is subtitles)
For my bottle I used two sheets of A4 printer paper cut into 1cm and 1.2cm strips which I then coloured in with promarkers.
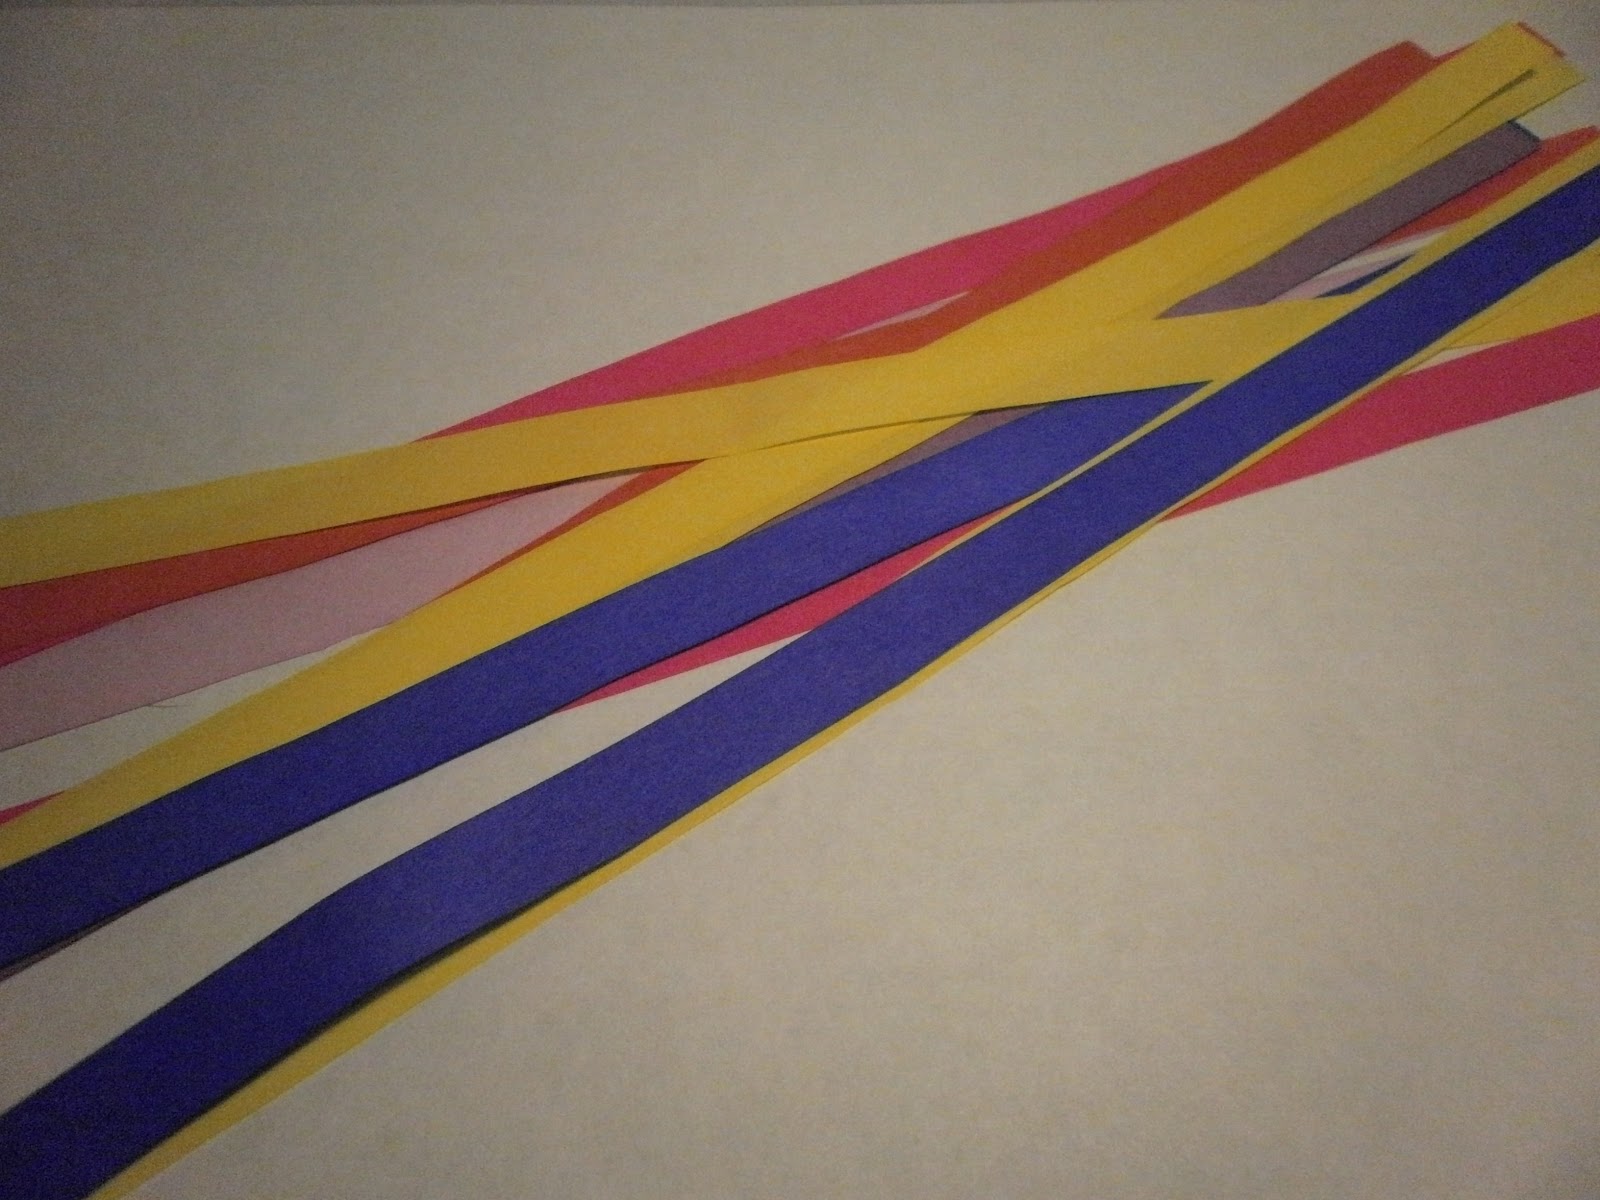
The 1cm strips worked well when cut both length and width ways whereas the 1.2cm strips worked best when they were cut length ways but were manageable when cut width ways (It is good to remember with this is that the wider they are the longer your strip will have to be).
Fold your paper strips into the stars and 'puff' them up (you may want to have a pin on hand in case some don't puff up and instead crush themselves into oblivion).
 |
| like this! |
A lot of the time I dislike simple origami as they tend not to look very good but the lucky star model is very simple and looks very nice. I got the idea for this after seeing it online and I wondered if it would work as well in real life. I think it did but what do you think?
No comments:
Post a Comment